|
|
Lesson 1: Belldandy Racing Queen
|
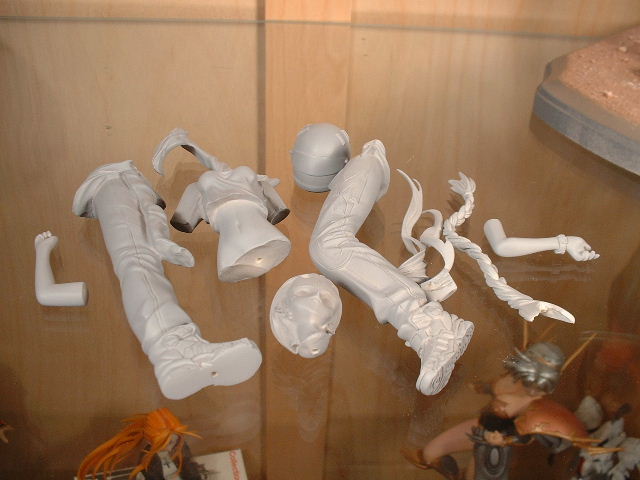
This tutorial will start from the painting stage, since all kits have different problems for their pre-painting work, and I can't possibly show everything here...
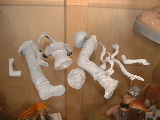
First, after you have primed everything with grey primer, make sure that there are no mold lines or air bubbles. You can then start painting.
|
|
|
|
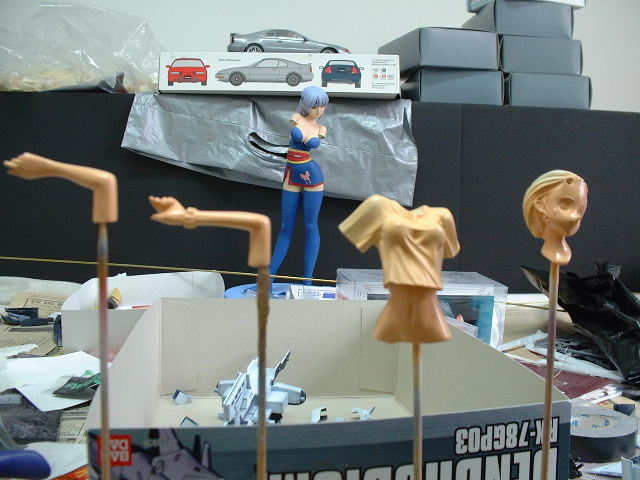
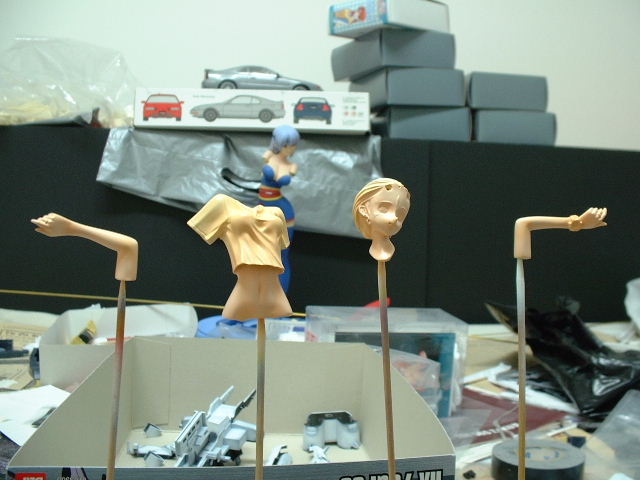
Pre-Painting
|
|
|
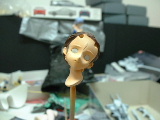
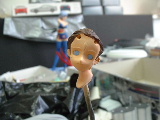
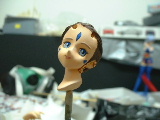
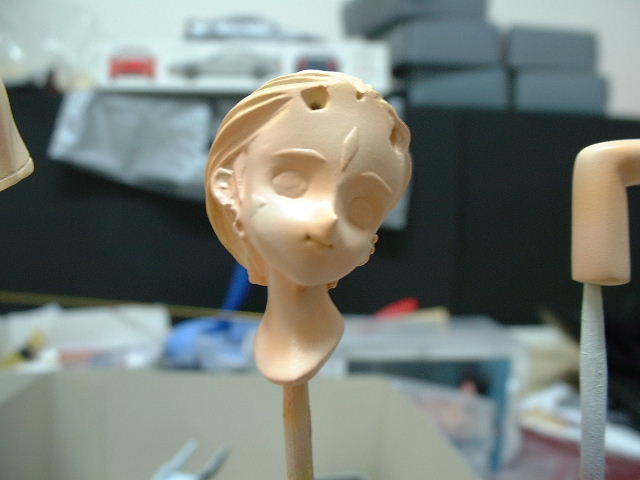
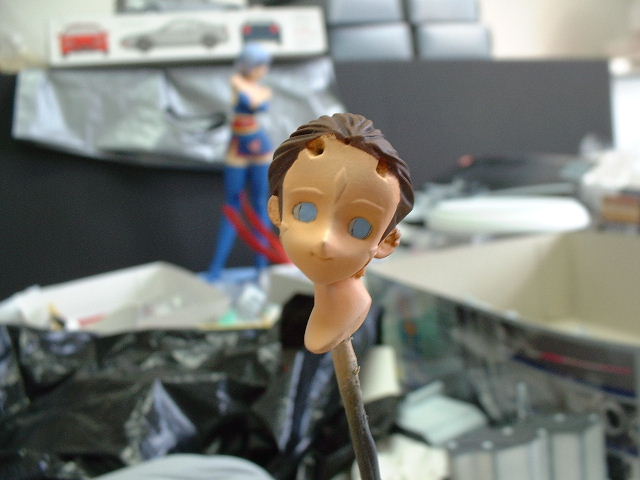
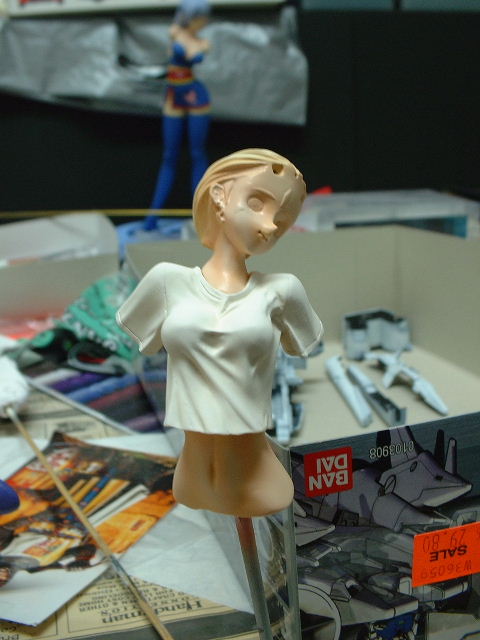
I usually start with the character flesh colour. Before you spray the skin colour, it's better to first spray the pieces white. This will give you a better, brighter result for the skin colour. Otherwise you will need to spray a thin layer of paint to cover the gray... (This is especially true for lacquer base paints, since the paint particles are much finer than acrylic paints). |
|
| Painting the Skin |
|
|
I usually start with applying the character's flesh colouration. Before you spray the skin colour, it's better to first spray the pieces white. This will give you a better, brighter result for the skin colour. Otherwise you will need to spray a thick layer of paint to cover the gray... (This is especially true for lacquer base paints, since the paint particles are much finer than acrylic paints).
I generally use 3 coats for character skin using the light on dark technique. So I first start with darkest skin colour.
|
|

|
|
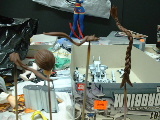
The first steps to applying the "skin base coating".
|
|
|
|
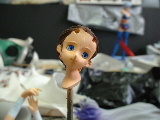
Make sure that the colour you sprayed has completely covered all the skin areas. The dark skin colour is mixed by white (60-70%), yellow (25-50% more than red), red, and a few drops of blue (you can use black or green as well).
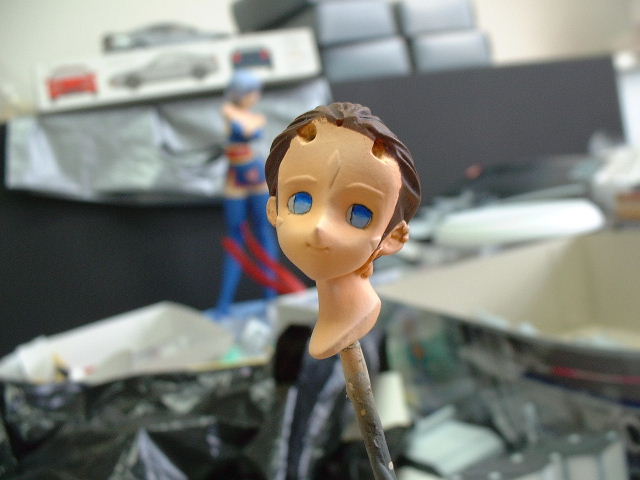
For the second coat I can just add more white into my original mixture.
|
|
|
|
Now the skin finally looks like skin, good work.
|
|
|
|
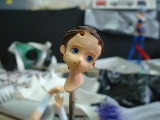
Make sure that you don't spray the dark area. This way your first coat becomes a darker shade of colour.
Now for the lightest coat. I add more white to produce the second mixture:
|
|
|
|
|
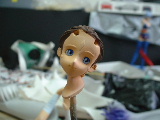
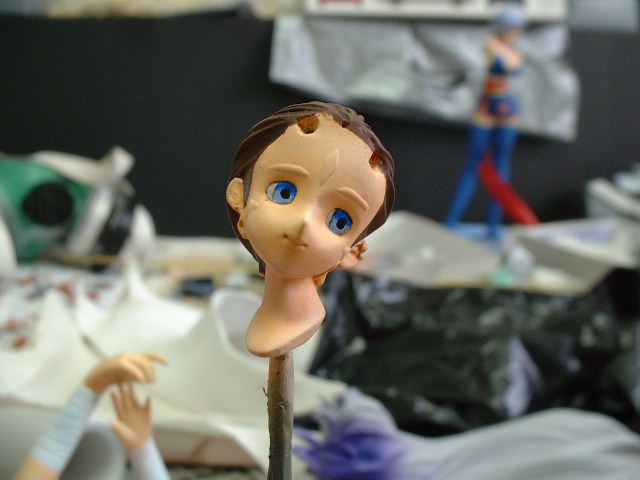
Now it's time to touch-up the brightest parts of the figure (like the nose, the ear, ect). Even though I photographed this effect it may be hard for you to see them in the photos, so you may not be able to notice the difference here. But you will be able to see them in the final result pictures. Trust me.
|
|
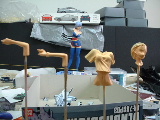
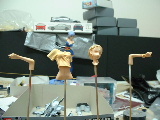
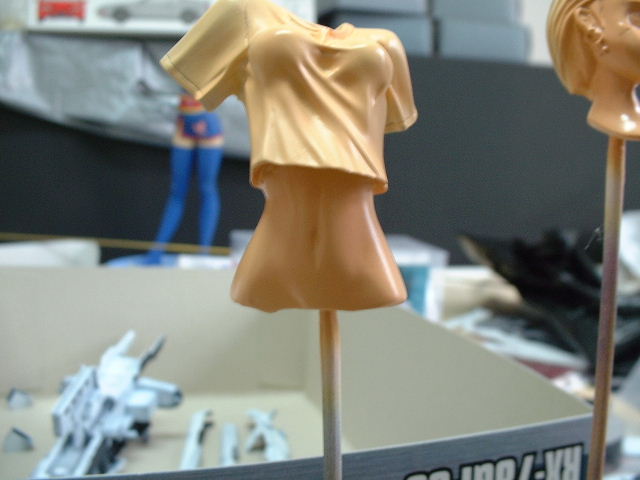
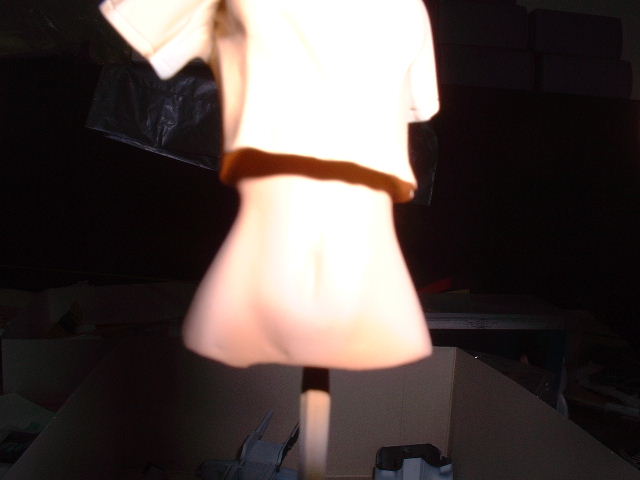
| Painting the Torso |
|
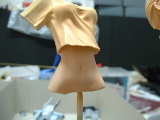
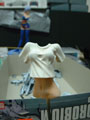
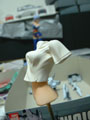
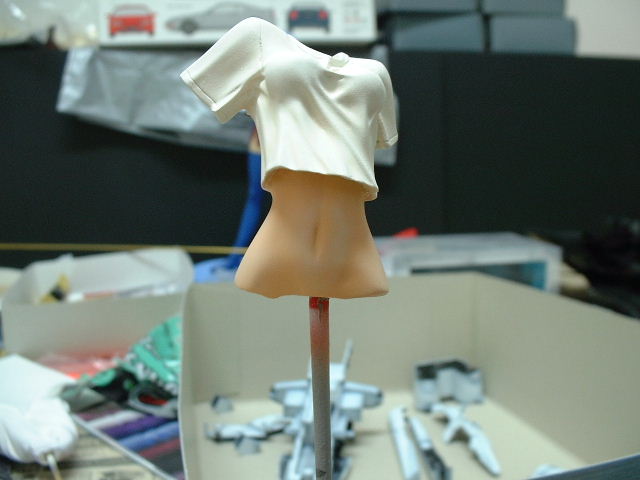
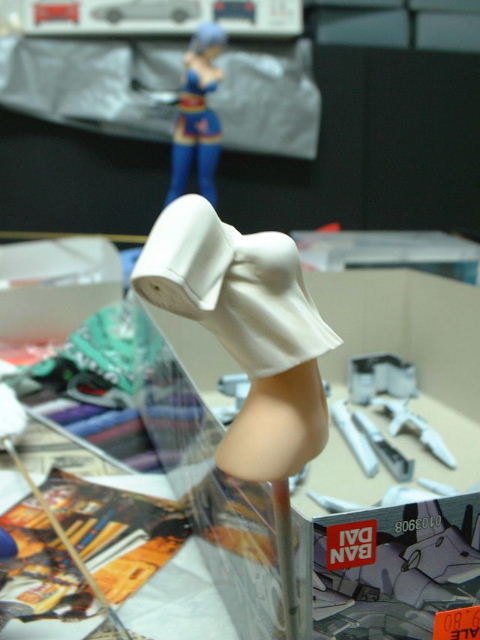
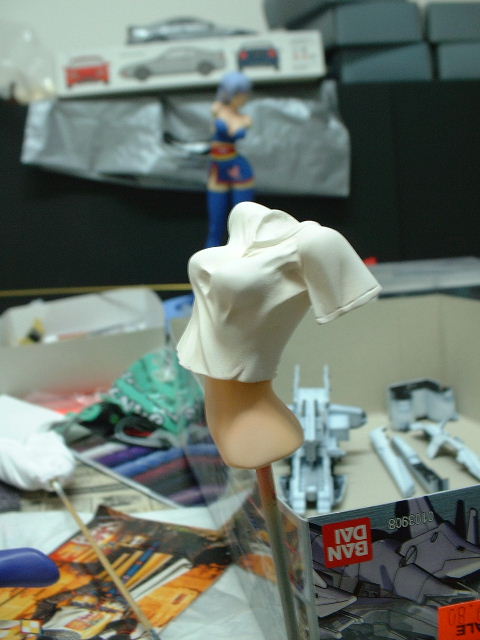
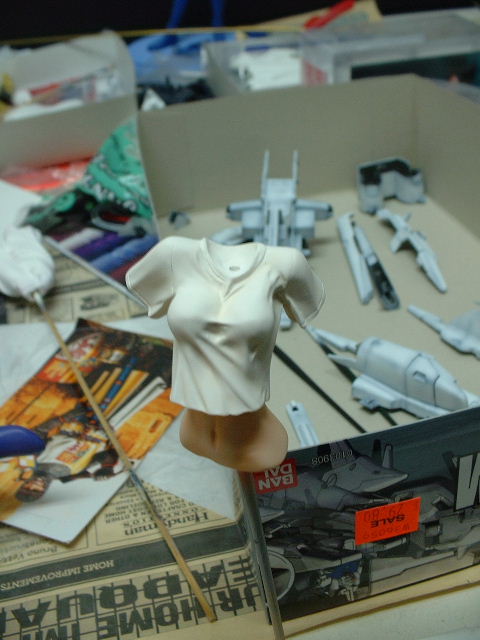
Next is her white T-shirt. I use the dark on light technique in this situation. Unfortunately the white colour is difficult to photograph, so the shading is not showing here. What I wanted to do was create a "warmer" effect for the kit, so I used a yellowish/greenish white for the dark shading. You can see the highlight of her body�s skin colour in these pictures (Photo: 1, 2, 3, 4). |

|
|
Making your whites whiter.
|
|
|
|
|
Adding detail lines.
|
|
Now draw in the panel lines for the clothes. This will help to provide focus for specific details, like her shirt sleeves. Once you have finished put these pieces aside where they will not get in the way for now. |
|
| Painting the Legs |
|
|
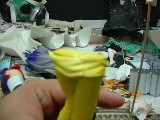
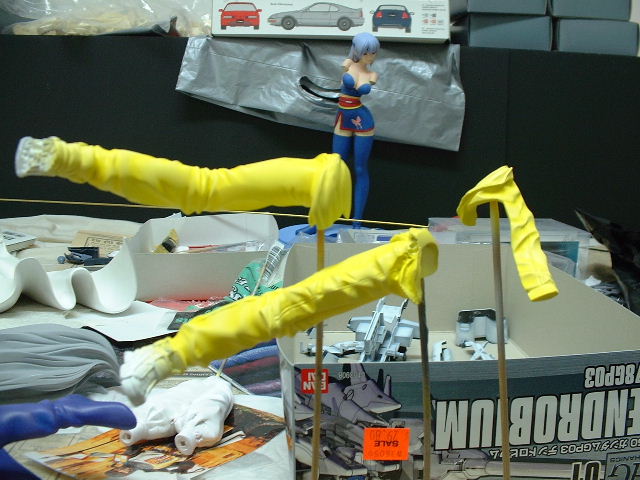
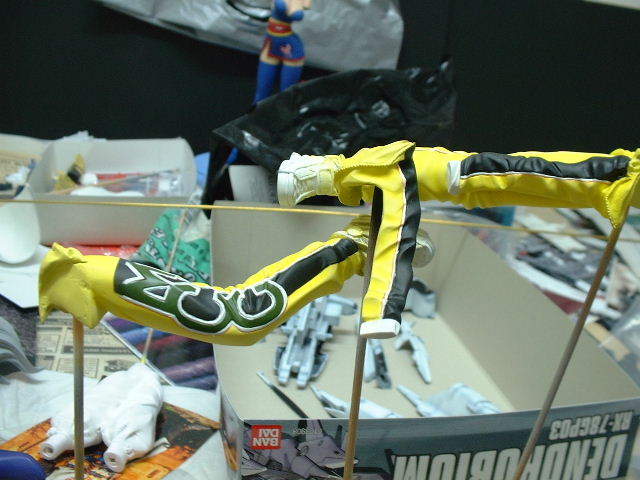
Well now that that's done it�s about time we moved on to her racing suit. Again I use the dark on light technique here. I first spray everything with a light yellow paint:
|
|
|
|
|
Step 1: Light Paint
|
|
|
|
|
After that is done I begin painting with the darker shade of colour:
|
|


|
|
Step 2: Dark Paint
|
|
|
|
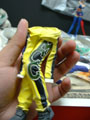
With all the yellow painting work finished the next step is to add the more detailed colours. I painted the black, the green, and then finally, the white. With the black paint I use dark on light, as well as
|
|


|
|
Well that was fast...all done.
|
|
with the green colour (more dark on light), and then light on dark (so medium colour first, followed by darker shades, and lastly highlight). I left the white at the very ends, so the white colour can cover any over-spraying of black and green paint. I wanted to take some photos while I was painting the black and green, but I was in too much of a hurry to finish the kit. Well maybe next time.
|
|
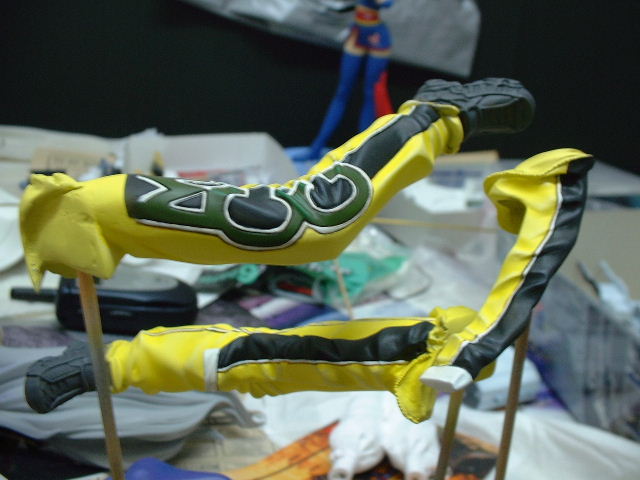
Now it's time to do some touch-up work on all these colours with a hand brush. Like me, you can also spray on the first coating of her shoes (dark gray colour) as shown here in the photos to the right. Whether you wait or not though, the shoes are next on our painting agenda. |

|
|
These photos are NOT blurry...clean your eyes...again...
|
|
|
| Painting the Shoes |
|
|
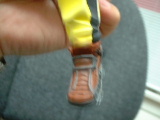
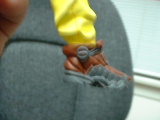
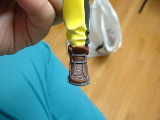
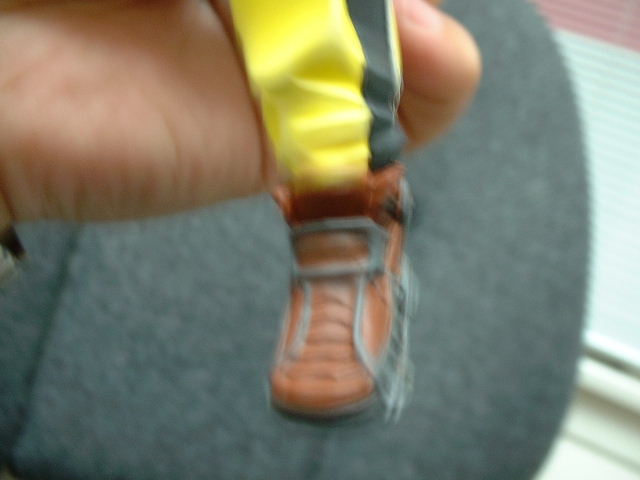
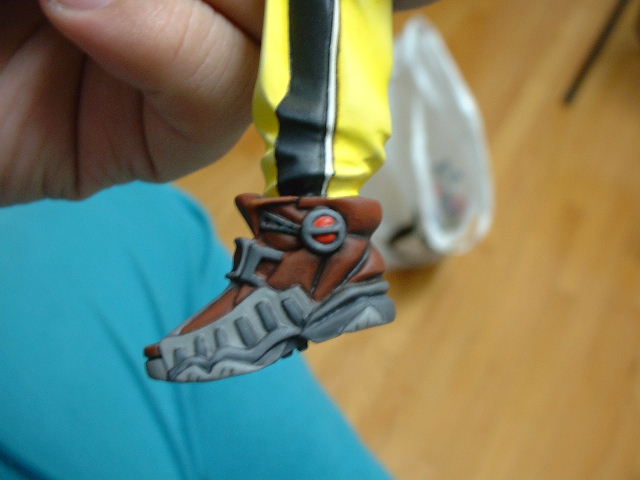
With the shoes painted using a gray undercoating you can now begin to add more colours. Put the leather (brown) colour on each shoe as shown below. Remember not to miss any parts around the front strap:
|
|

|
|
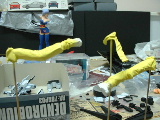
Another set of amazing photos ruined by one of Canada's frequent earthquakes...I kid you not!
|
|
|
|
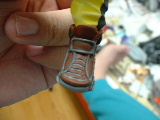
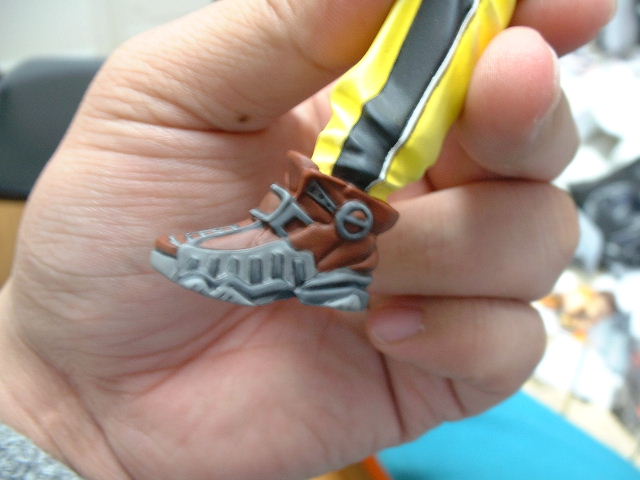
That done, it�s time to add the highlight colours for the gray coloured sections of each shoe:
|
|

|
|
Painting on those special little highlights...perfect.
|
|
|
|
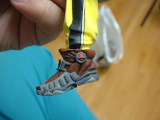
Adding the dark shading and highlights for the brown colour of shoe should be done next. This is also a good time to paint the small area of red colour (on the side of the shoe):
|
|
|
|
What? You think I'm going to write comments for every photo? Damn.
|
|
|
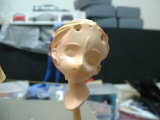
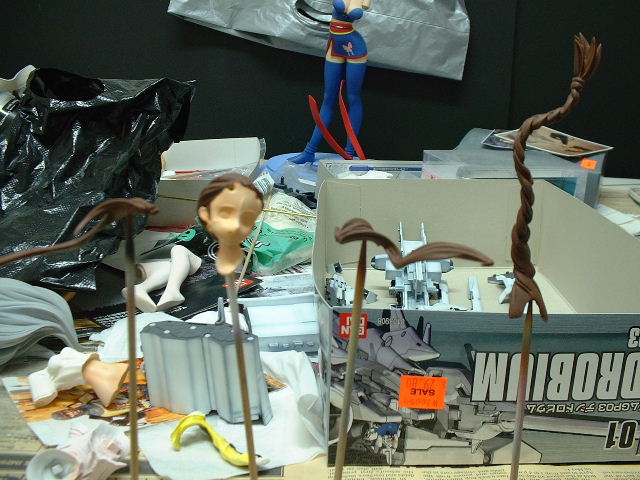
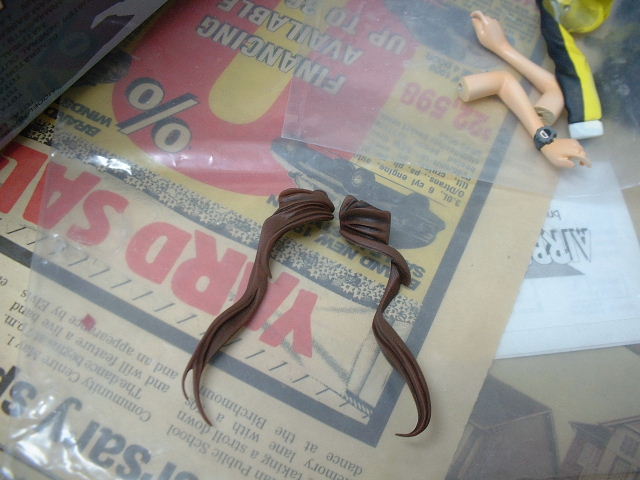
| Painting the Hair |
|
|
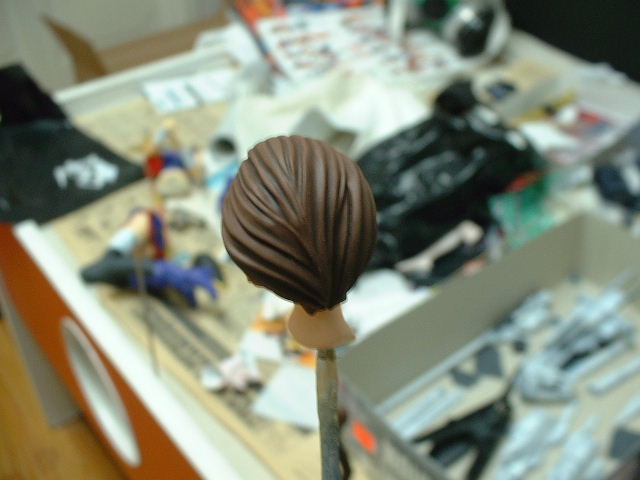
Okay, moving away from her legs it�s now time to paint her hair. I use a mixed brown colour for her hair. Once again, I use medium, dark then light technique, to paint. Begin with a medium colour (a brown that�s not too dark or too light, but somewhere in-between):
|
|

|
|
Trying to find the "right" shade of brown.
|
|
|
|
When you are done and ready, add in the darker shade of brown to her hair.
|
|

|
|
Now that looks like a real set of hair...but it's still missing something.
|
|
|
|
The last step for the hair is to paint on the highlights, giving it that "life-like" sheen.
|
|
|
|
Highlights
|
|
|
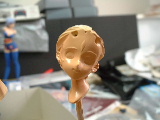
| Painting the Eyes |
|
|
Now we are ready to draw the eyes. We will be doing this in seven steps that should provide you with all the details you need to know.
|
|
|
Step 1: First, start with a white base. Don't use pure white or you will end up making the figure look very scary...trust me on this. Use an off-white colour.
|
|
|
Don't stop painting, or she'll look
blind forever!
|
|
|
|
|
Step 2: I like to start off with using a light blue paint first.
|
|
|
|
Light blue eyes...
|
|
|
|
|
Step 3: Use a washing technique to darken the blue until they turn a shade you think suits Belldandy. Or you could also paint them solid blue if you wish. This works, but to me it just doesn't look as nice.
|
|

|
|
...become dark blue eyes.
|
|
|
|
|
Step 4: Now for the pupils. Very carefully use black to add dots to the center of the eyes as shown.
|
|
|
|
Now she can watch you paint.
|
|
|
|
|
Step 5: Lighten the light blue colour along the bottom of her eyes even more. Hand paint with the highlighting technique.
|
|
|
By now you either like her
watching you.
|
|
|
|
|
Step 6: Add a white dot to each of her pupils. You can add some even smaller white dots if you like.
|
|
|
|
Or she's starting to freak you out.
|
|
|
|
|
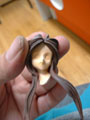
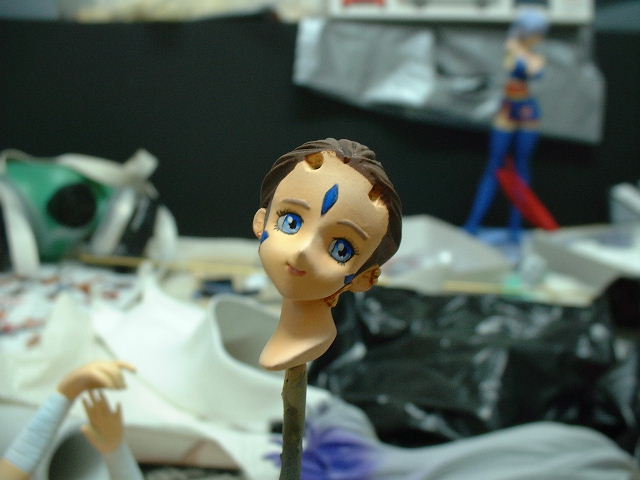
Step 7: Finishing up the face. Paint her lips, her eye brows, and the blue "Goddess" pattern on her face.
|

|
|
Well, either way, now you're done.
|
|
|
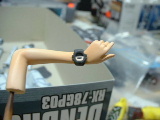
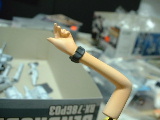
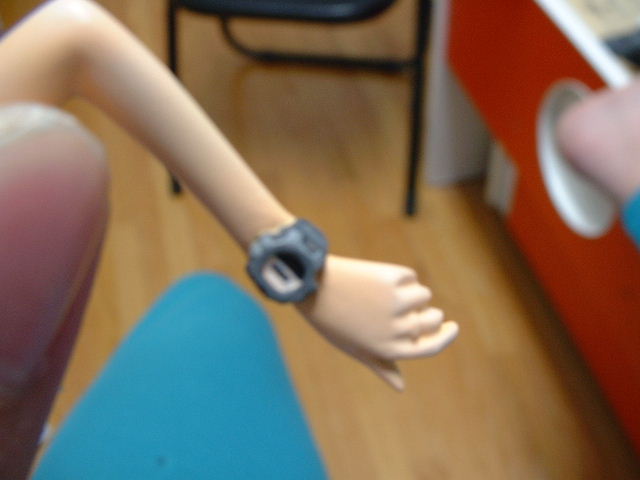
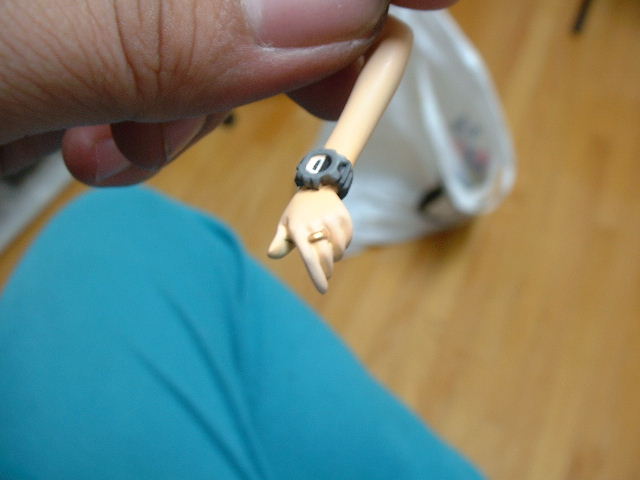
| Painting the Wrist Watch |
|
|
Paint her watch using dark gray (strap/frame), black (upper watch face), and white (inner watch face frame). There was a fair bit of detail, but the photos turned out a bit blurry.
|
|
|
|
I actually hand painted the time on her watch. No, that's a lie, but for a second I bet you thought, "Woah! He's crazy!".
|
|
|
|
Add in highlights to the watch, and use silver for the metal parts.
|
|


|
|
Now the digital wrist watch is complete.
|
|
|
| Painting the Extras |
|
|
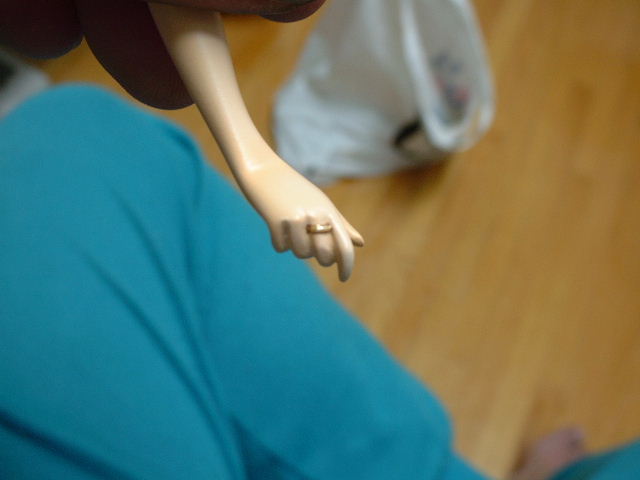
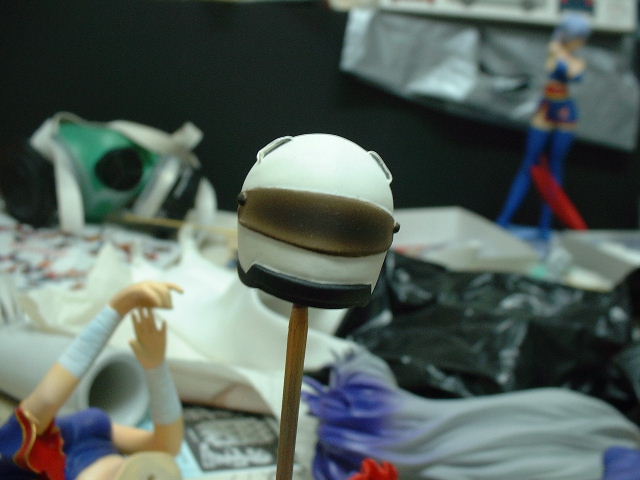
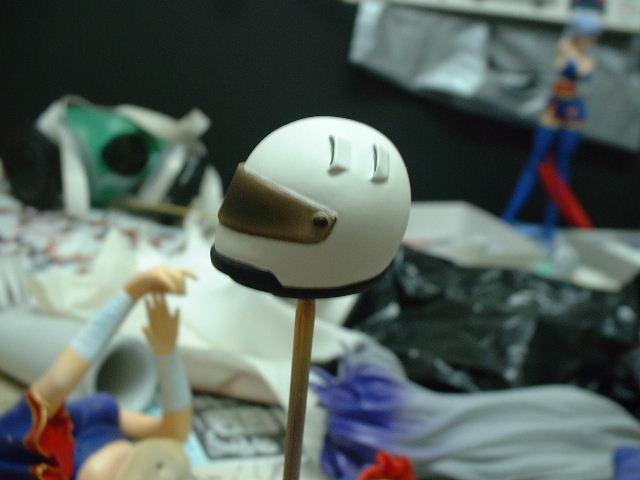
Paint her gold ring and helmet.
|
|
|
|
|
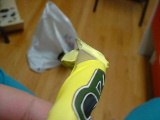
Don't forget to paint her underwear... ^_^
|
|
|
|
No comment.
|
|
|
| Finishing the Pants |
|
|
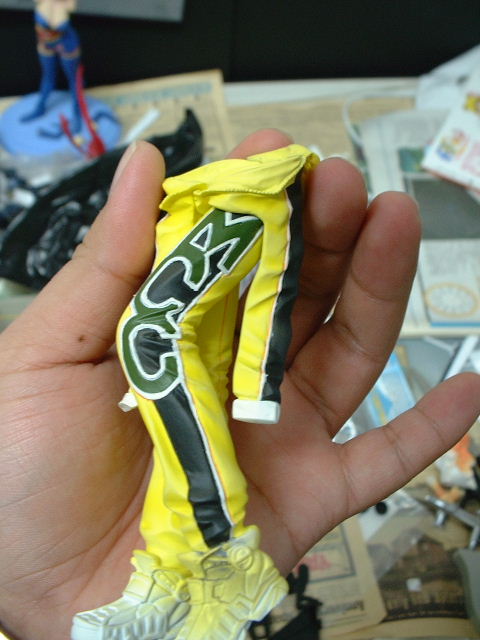
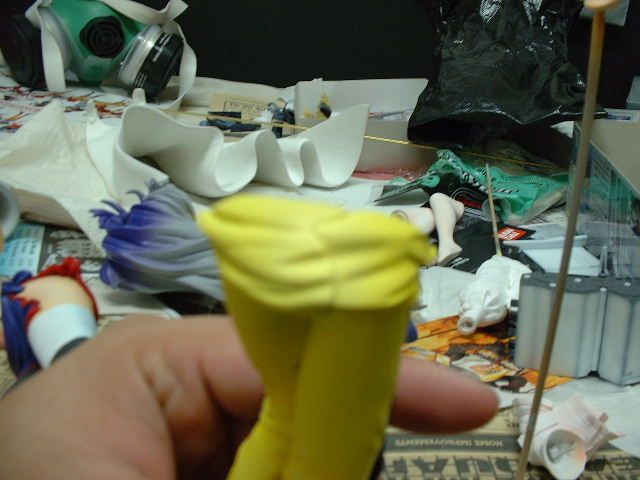
Since the racing suit is split into two large pieces, we need to patch them together and then re-spray the patchwork yellow.
|
|
|
|
Step 1: Putting them together.
|
|
|
|
|
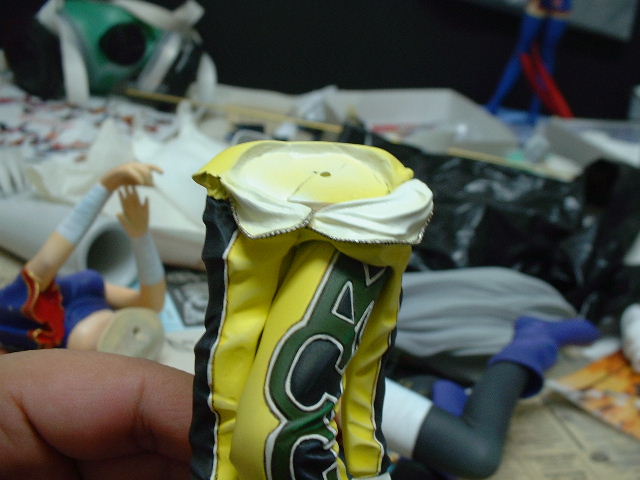
Add white paint to the inner lining of her racing suit.
|
|

|
|
Step 2: Adding the white.
|
|
|
|
| Painting the Stand |
|
|
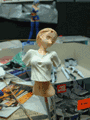
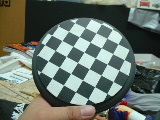
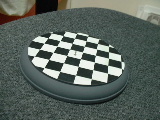
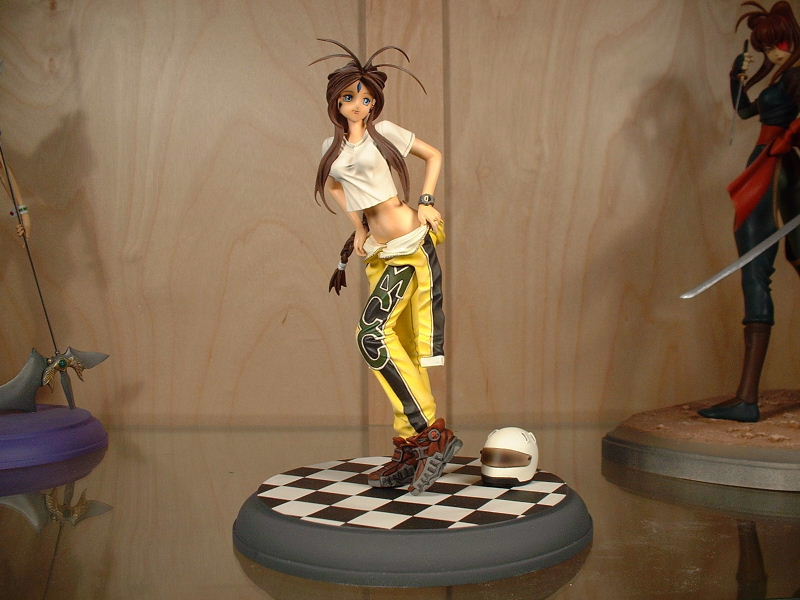
For the base Belldandy is going to occupy I painted something with "racing" in mind. I think it suits this model very well.
|
|
|
|
Vroom! Vroom!
|
|
|
|
Putting everything together we have our masterpiece. Now she is finally complete. ^_^
|
|
|
|
|
|


